When you spend much of your time either working or watching using your laptop or PC. You develop eye strain that leads to a headache. Most people like reducing the light of their PCs but that doesn’t solve the issue altogether.

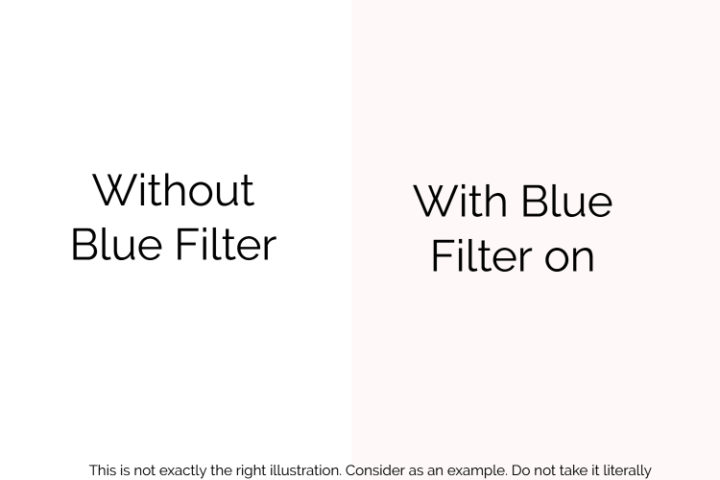
If your PC is using Windows 10, then you have got a way to make sure you are not affected by light emitted by your PC. all Windows 10 PCs have a feature known as a Blue light filter or, in other words, Night Light.
It is responsible for ensuring that you are not having eye problems when sleeping, even if you spend too much time looking at your PC.
Bonus Tip: There are many Apps available to fix Blue light on Windows 10/11. Scroll down to see them.
We highly recommend CareUEyes Software to keep your eyes safe. Their paid version extremely useful.
Effect of Blue Light on Human Health
Research has shown that Blue light produced by PCs is bad for your health. As earlier said, it affects your sleep due to painful eyes. That is due to its changing the way melatonin is secreted. Melatonin is a hormone found in the eye that is responsible for enabling you to sleep.
Therefore, you should make sure you use this feature from morning to evening (Sunrise to Sunset). The main reason is that it helps keep you motivated and reduces eye strain, more so if you work online.
How to Use Blue Light Filter in Windows 11/10?
Before you think about downloading software to help you in reducing blue light. Think about your operating system. If you are using Windows 10 on your PC, you can now reduce blue light by activating Night Light (blue light filter).
To activate this setting, you can follow these steps.
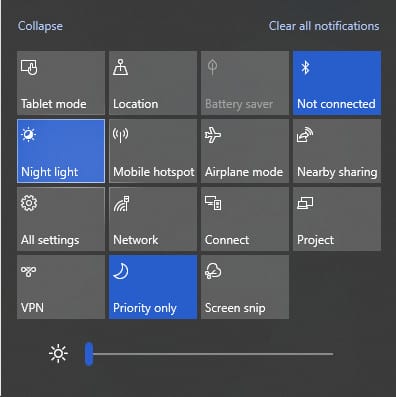
Step 1: Open the Action Center. To open the Action Center, press the Windows icon and A concurrently. (Windows Key + A).
Step 2: Expand Action Center. When you open the Action Center, you will notice that not all Quick Action Buttons are visible. Tap Expand to see other Quick Action Buttons.

Step 3: Activate Night Light, After you expand the action center, you will see Night Light. To activate it, tap its action button.
However, that’s not all you require to configure the Night Light settings.
To configure the Night Light settings, do the following.
- Press Windows Key and I simultaneously (Win + I)
- Then click System and go to Display
- After doing so click Night Light Settings
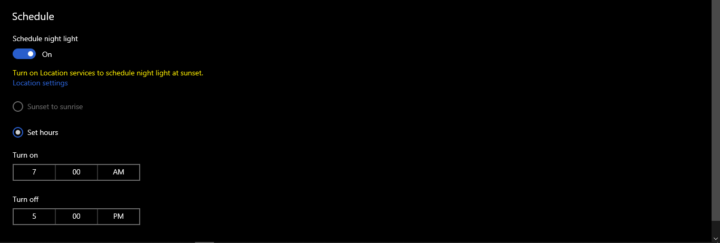
- You can now adjust the strength of Blue Light Filter and select start and end time you want the Blue light filter

- Furthermore, you can either select the Sunset to Sunrise option

NB: To activate the Sunset to Sunrise option, you need to activate your PC’s location. You can enable it by going to the Action Center and click location. Or open your setting and go to Privacy and tap Location.
Free Software to Enable Blue Light Filter
Other than using the first procedure, you can also download other software to assist you in enabling Blue Light Filter.
They include;
- CareUEyes Lite
- Iris Mini
- lux
- Redshift
- Eye Saver
They are all available for free, and you can install them on your Windows 10 PC.
Conclusion
Your eyes are critical, and taking care of them is more important than what you do with your PC. That’s why Microsoft decided to help you by ensuring Windows 10 has Blue Light Filter “Night Light” feature to protect your eyes. If you have been looking for ways or software to help you reduce the amount of Blue light emitted. I believe that now you know of them.
Thank you for your time. Share this article on your social media accounts for other PC users to learn about using Blue Light Filter in Windows 11 PC. For any questions, don’t hesitate to leave a comment.